© 2026 Prudential Pest Solutions
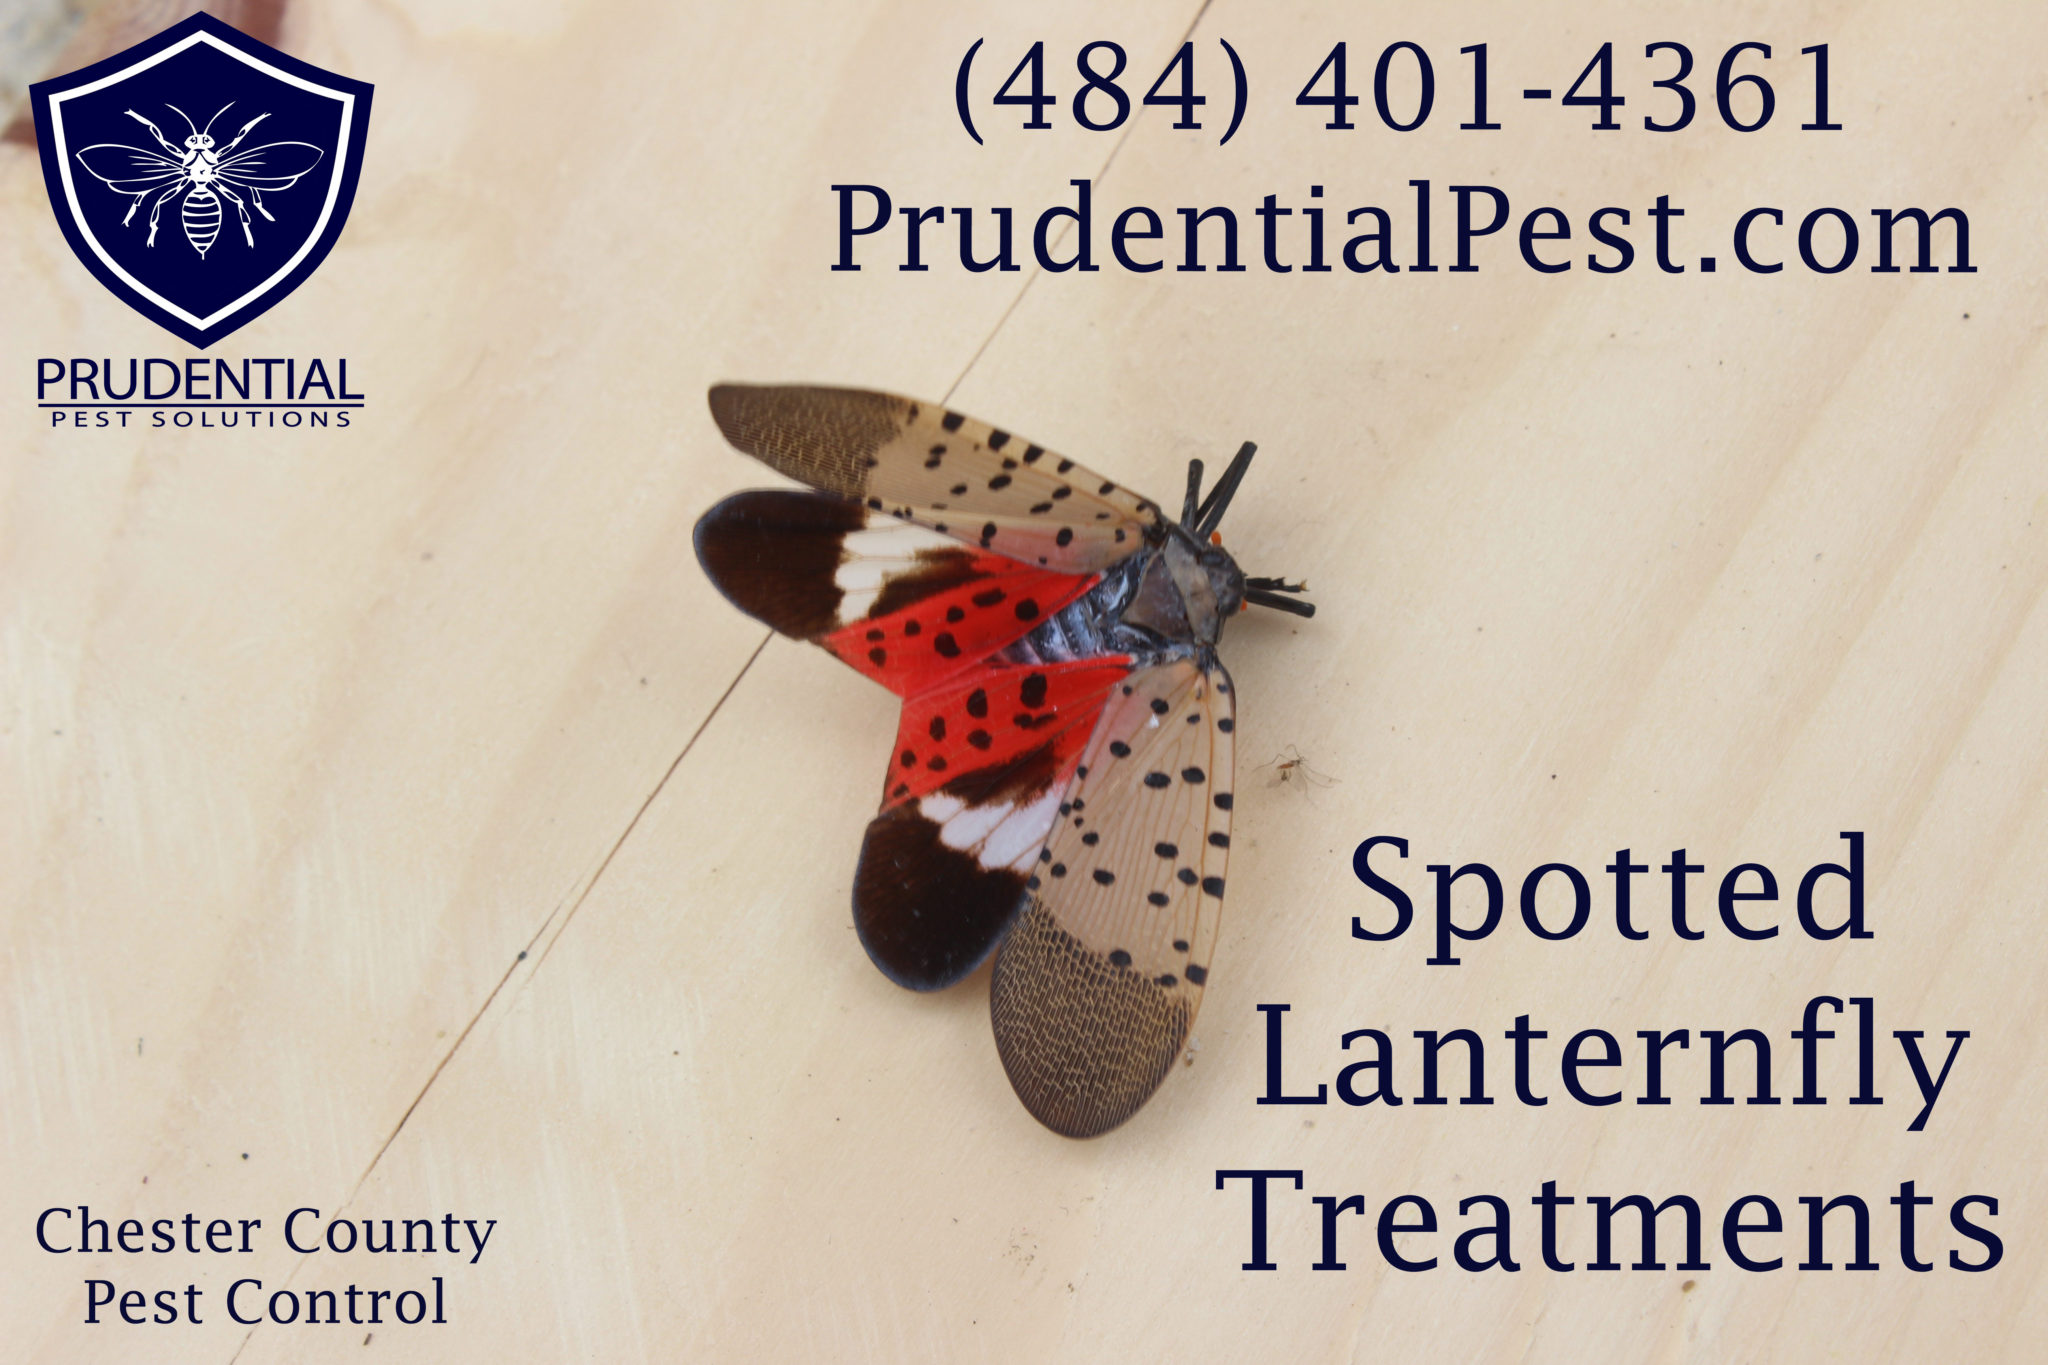
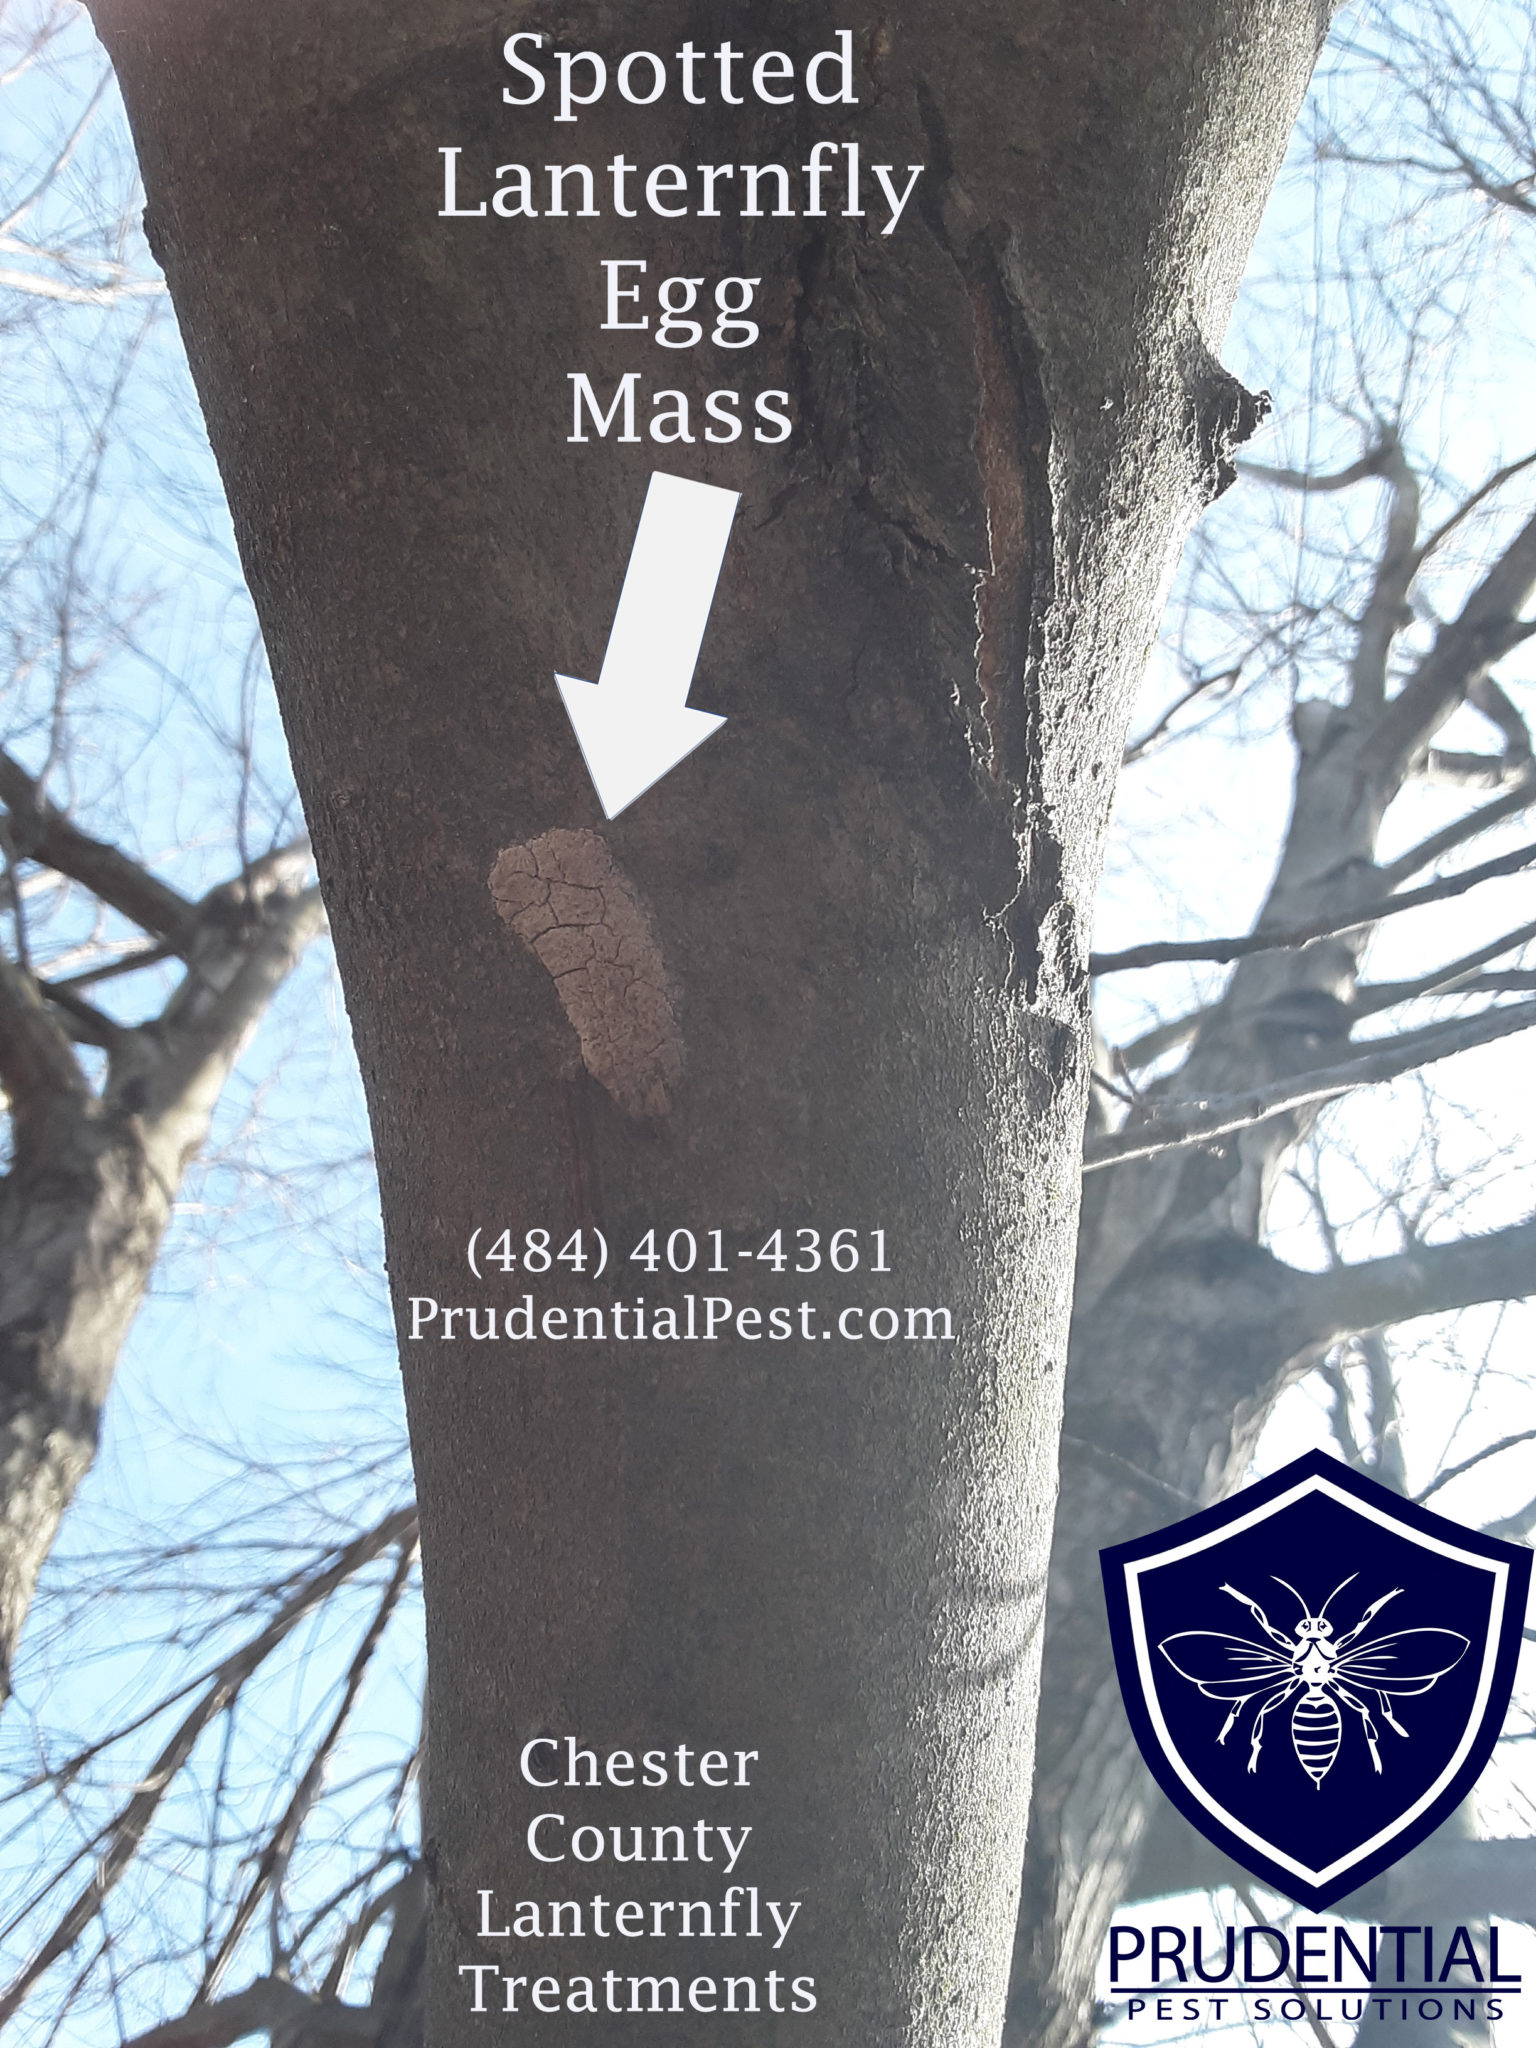
Spotted Lanternfly Overview The spotted lanternfly (SLF) is an invasive species[…]
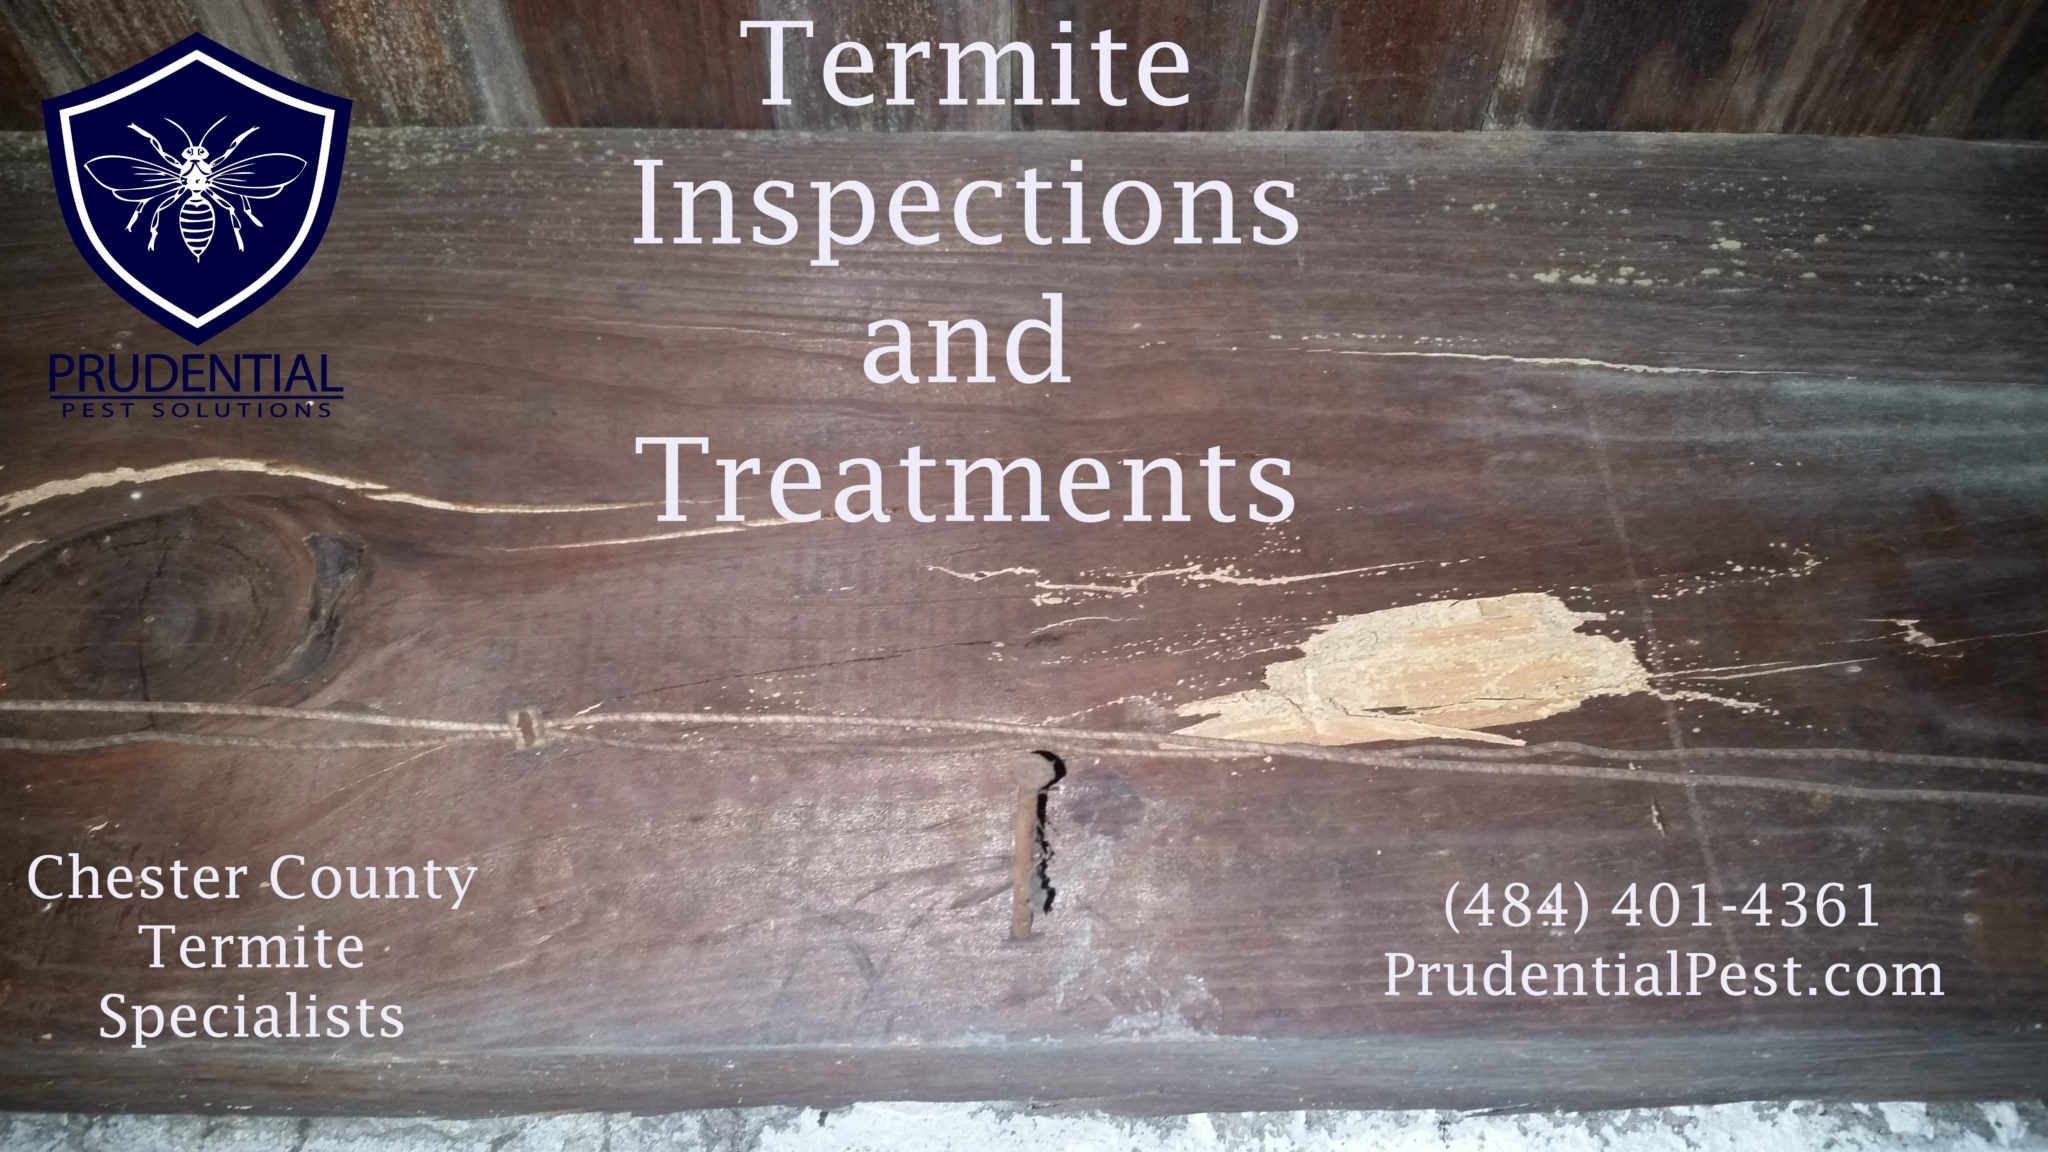
Termites are wood destroying insects that can cause substantial damage to[…]
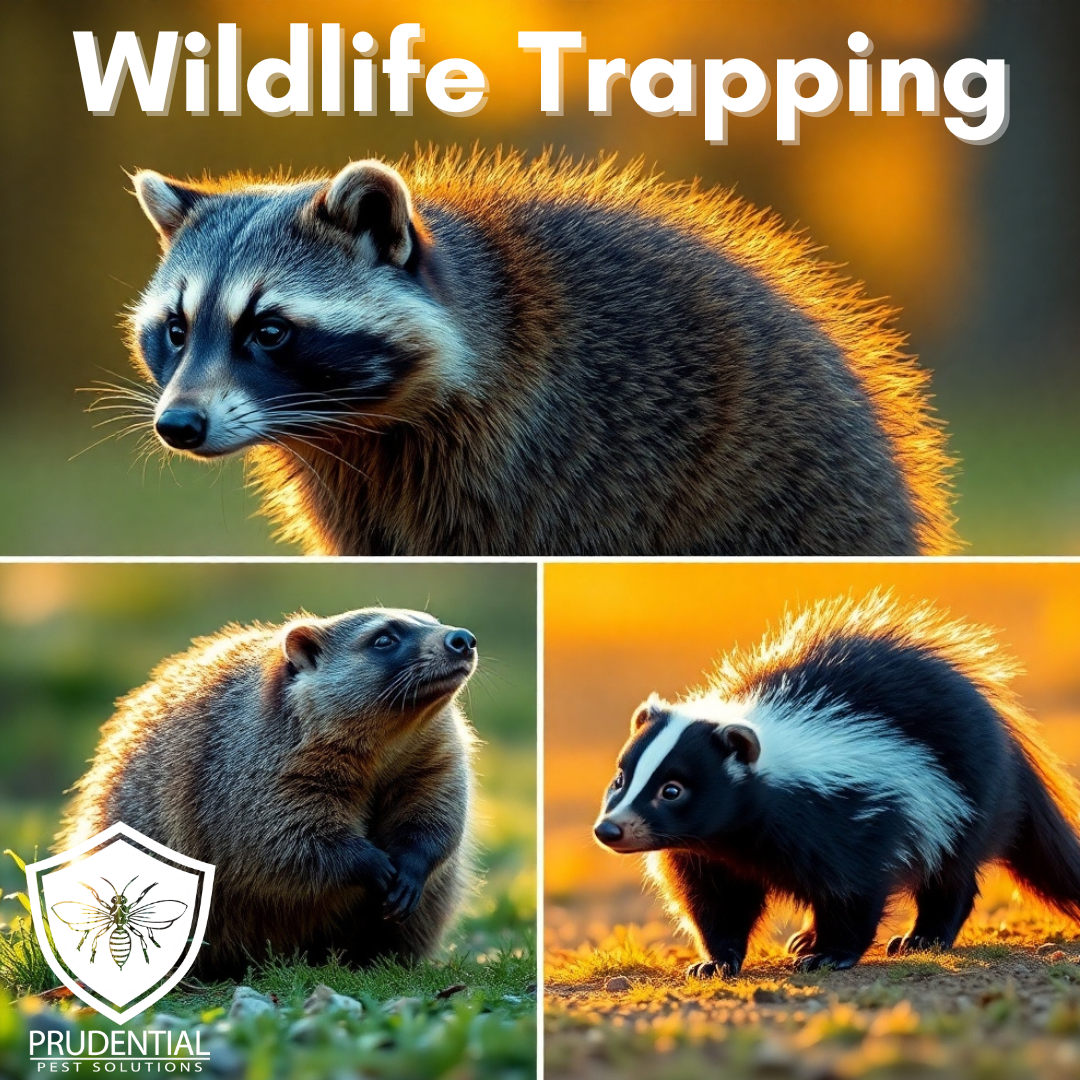
Animal and Wildlife Trapping is a common technique to remove a[…]
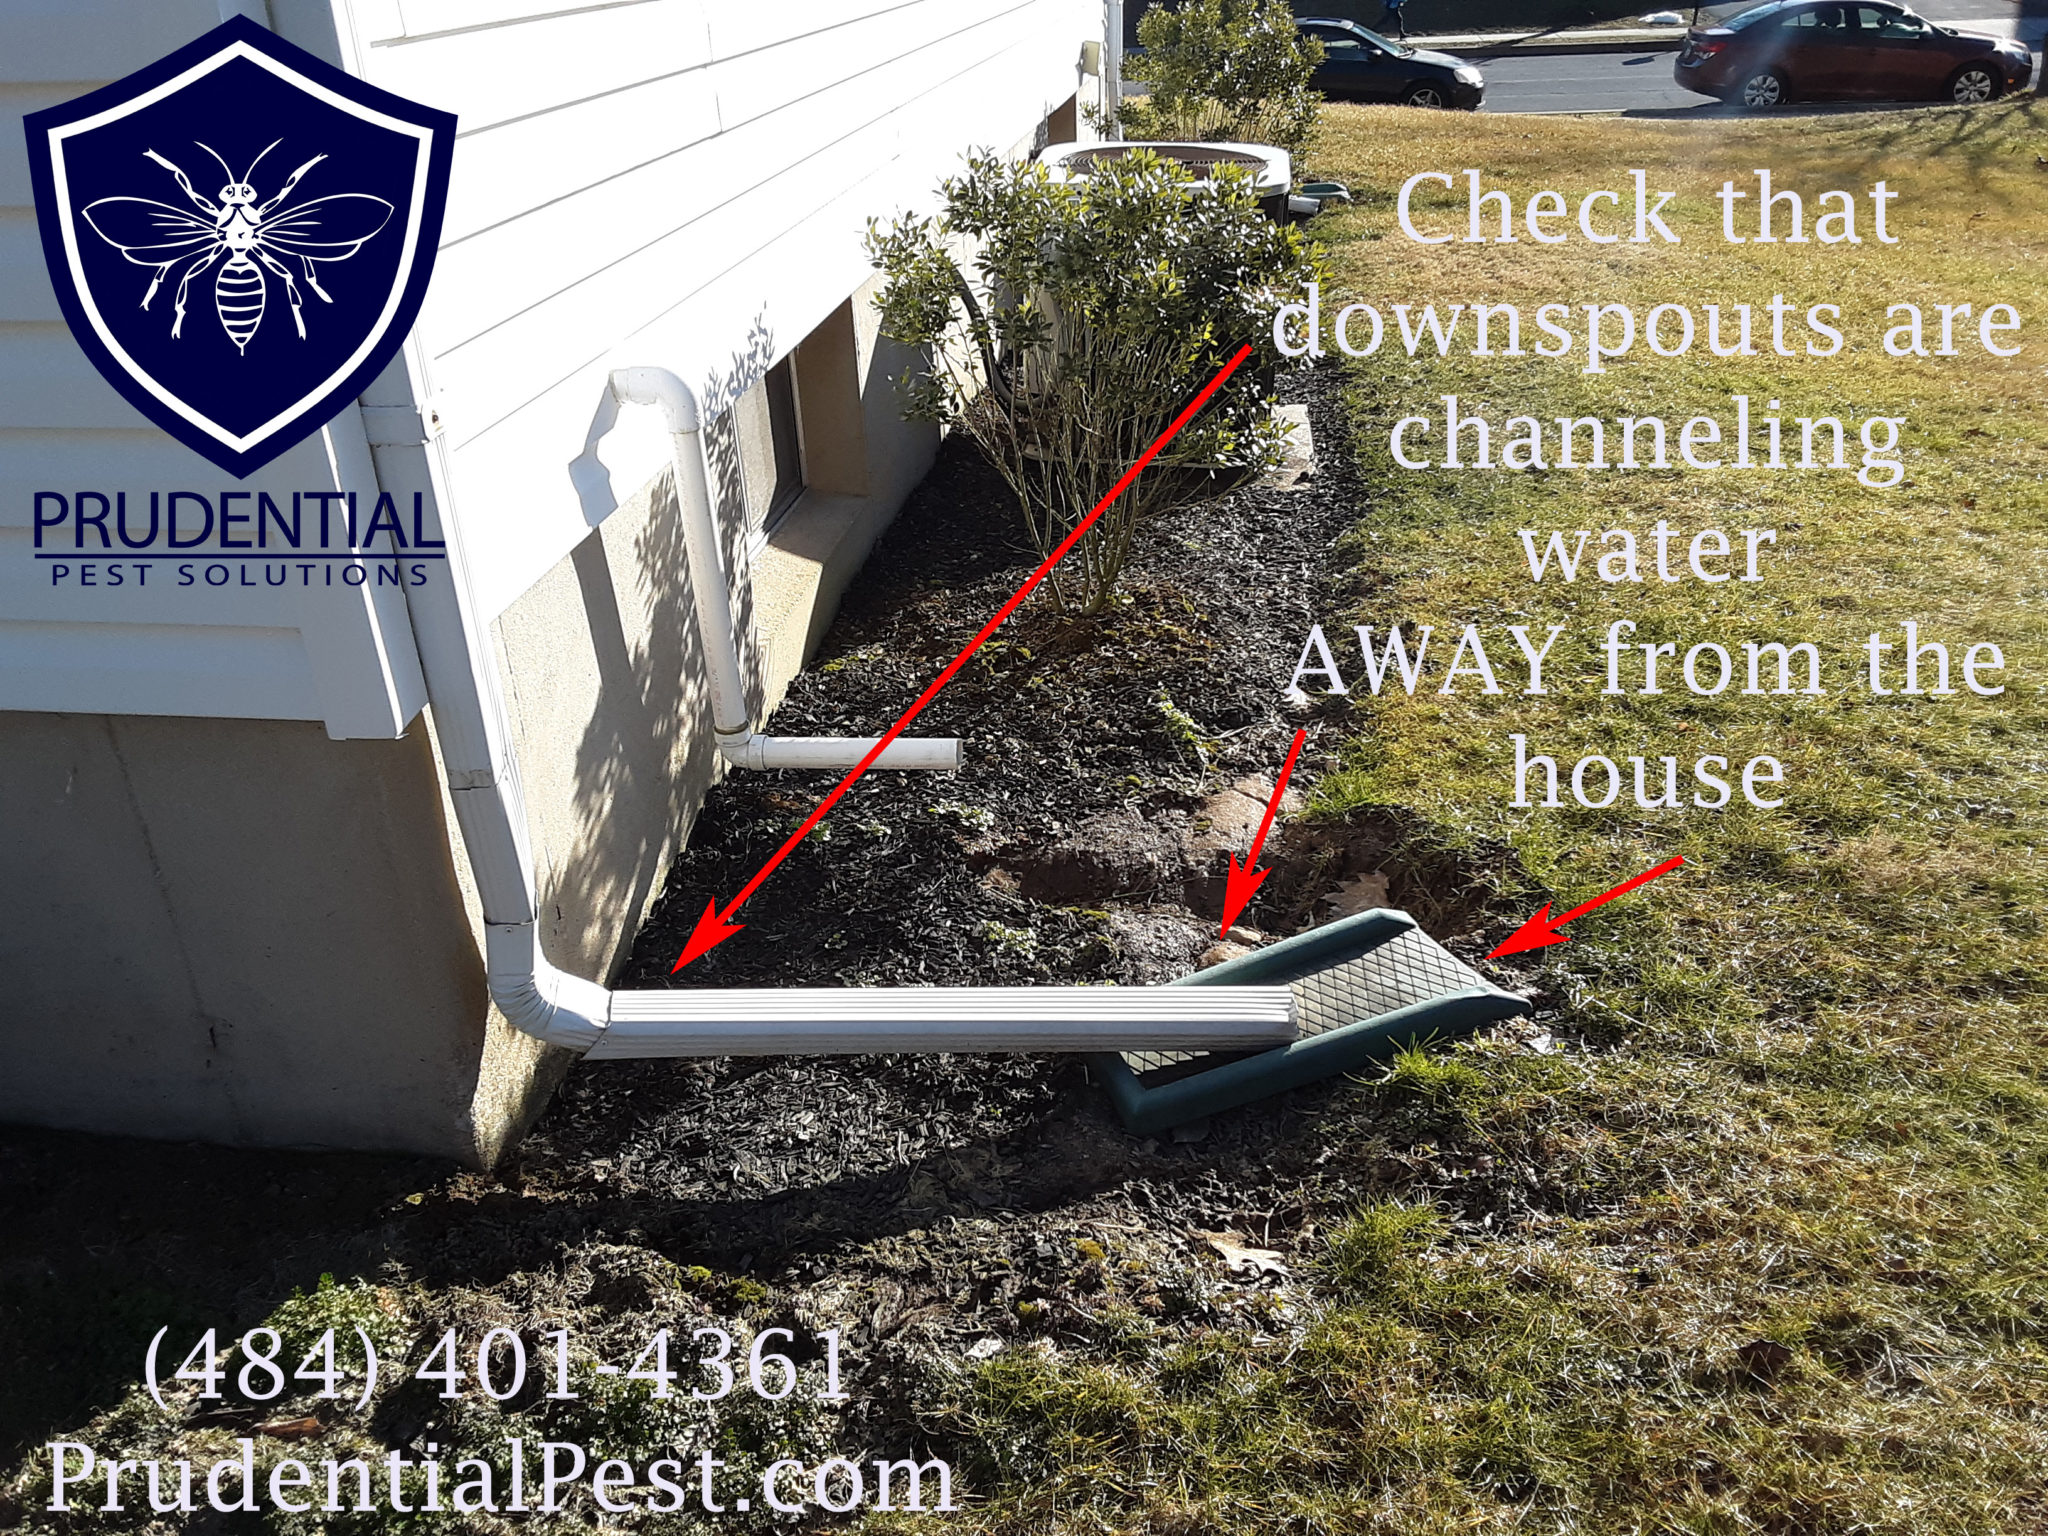
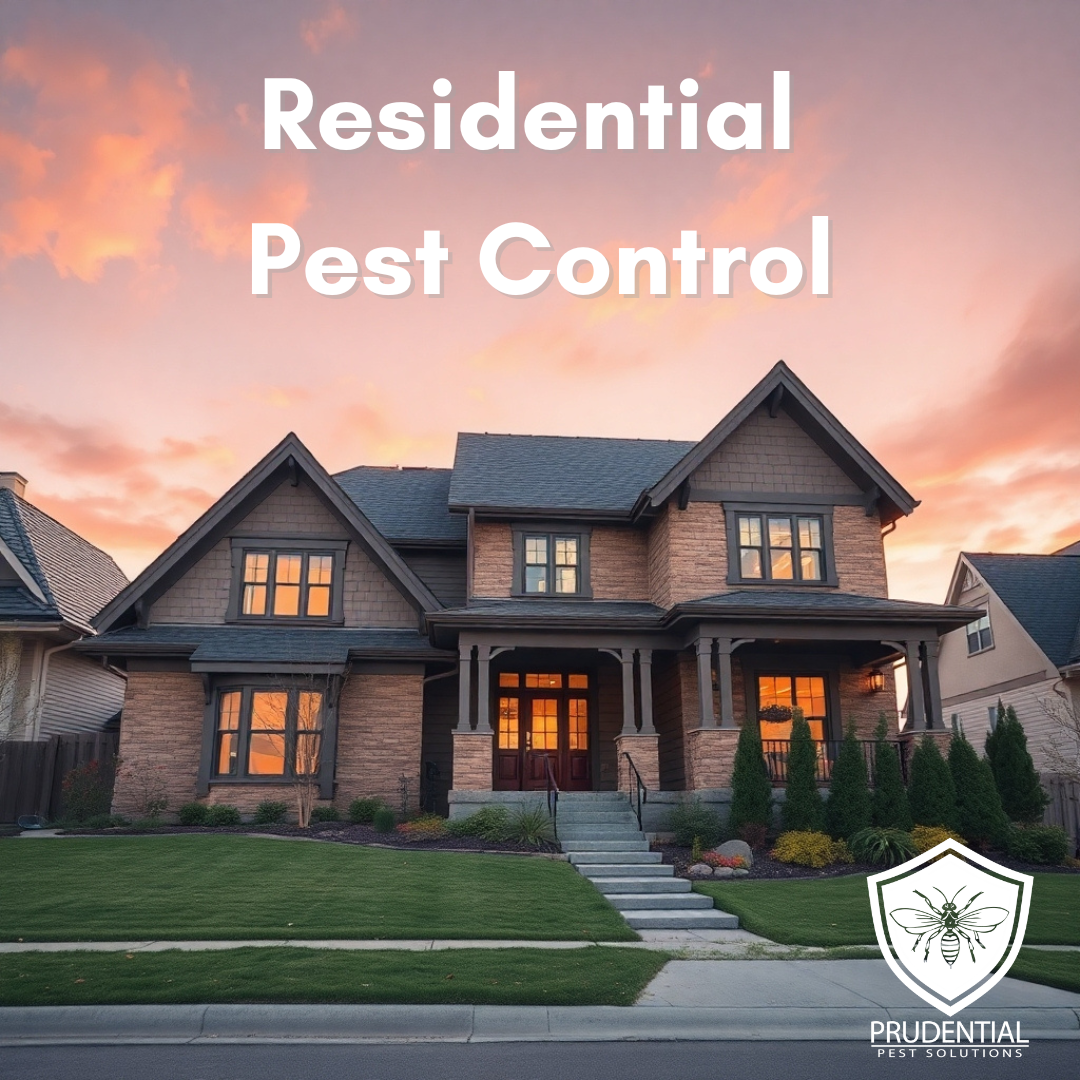
Here are our 6 tips to be pest-free for Spring. After[…]
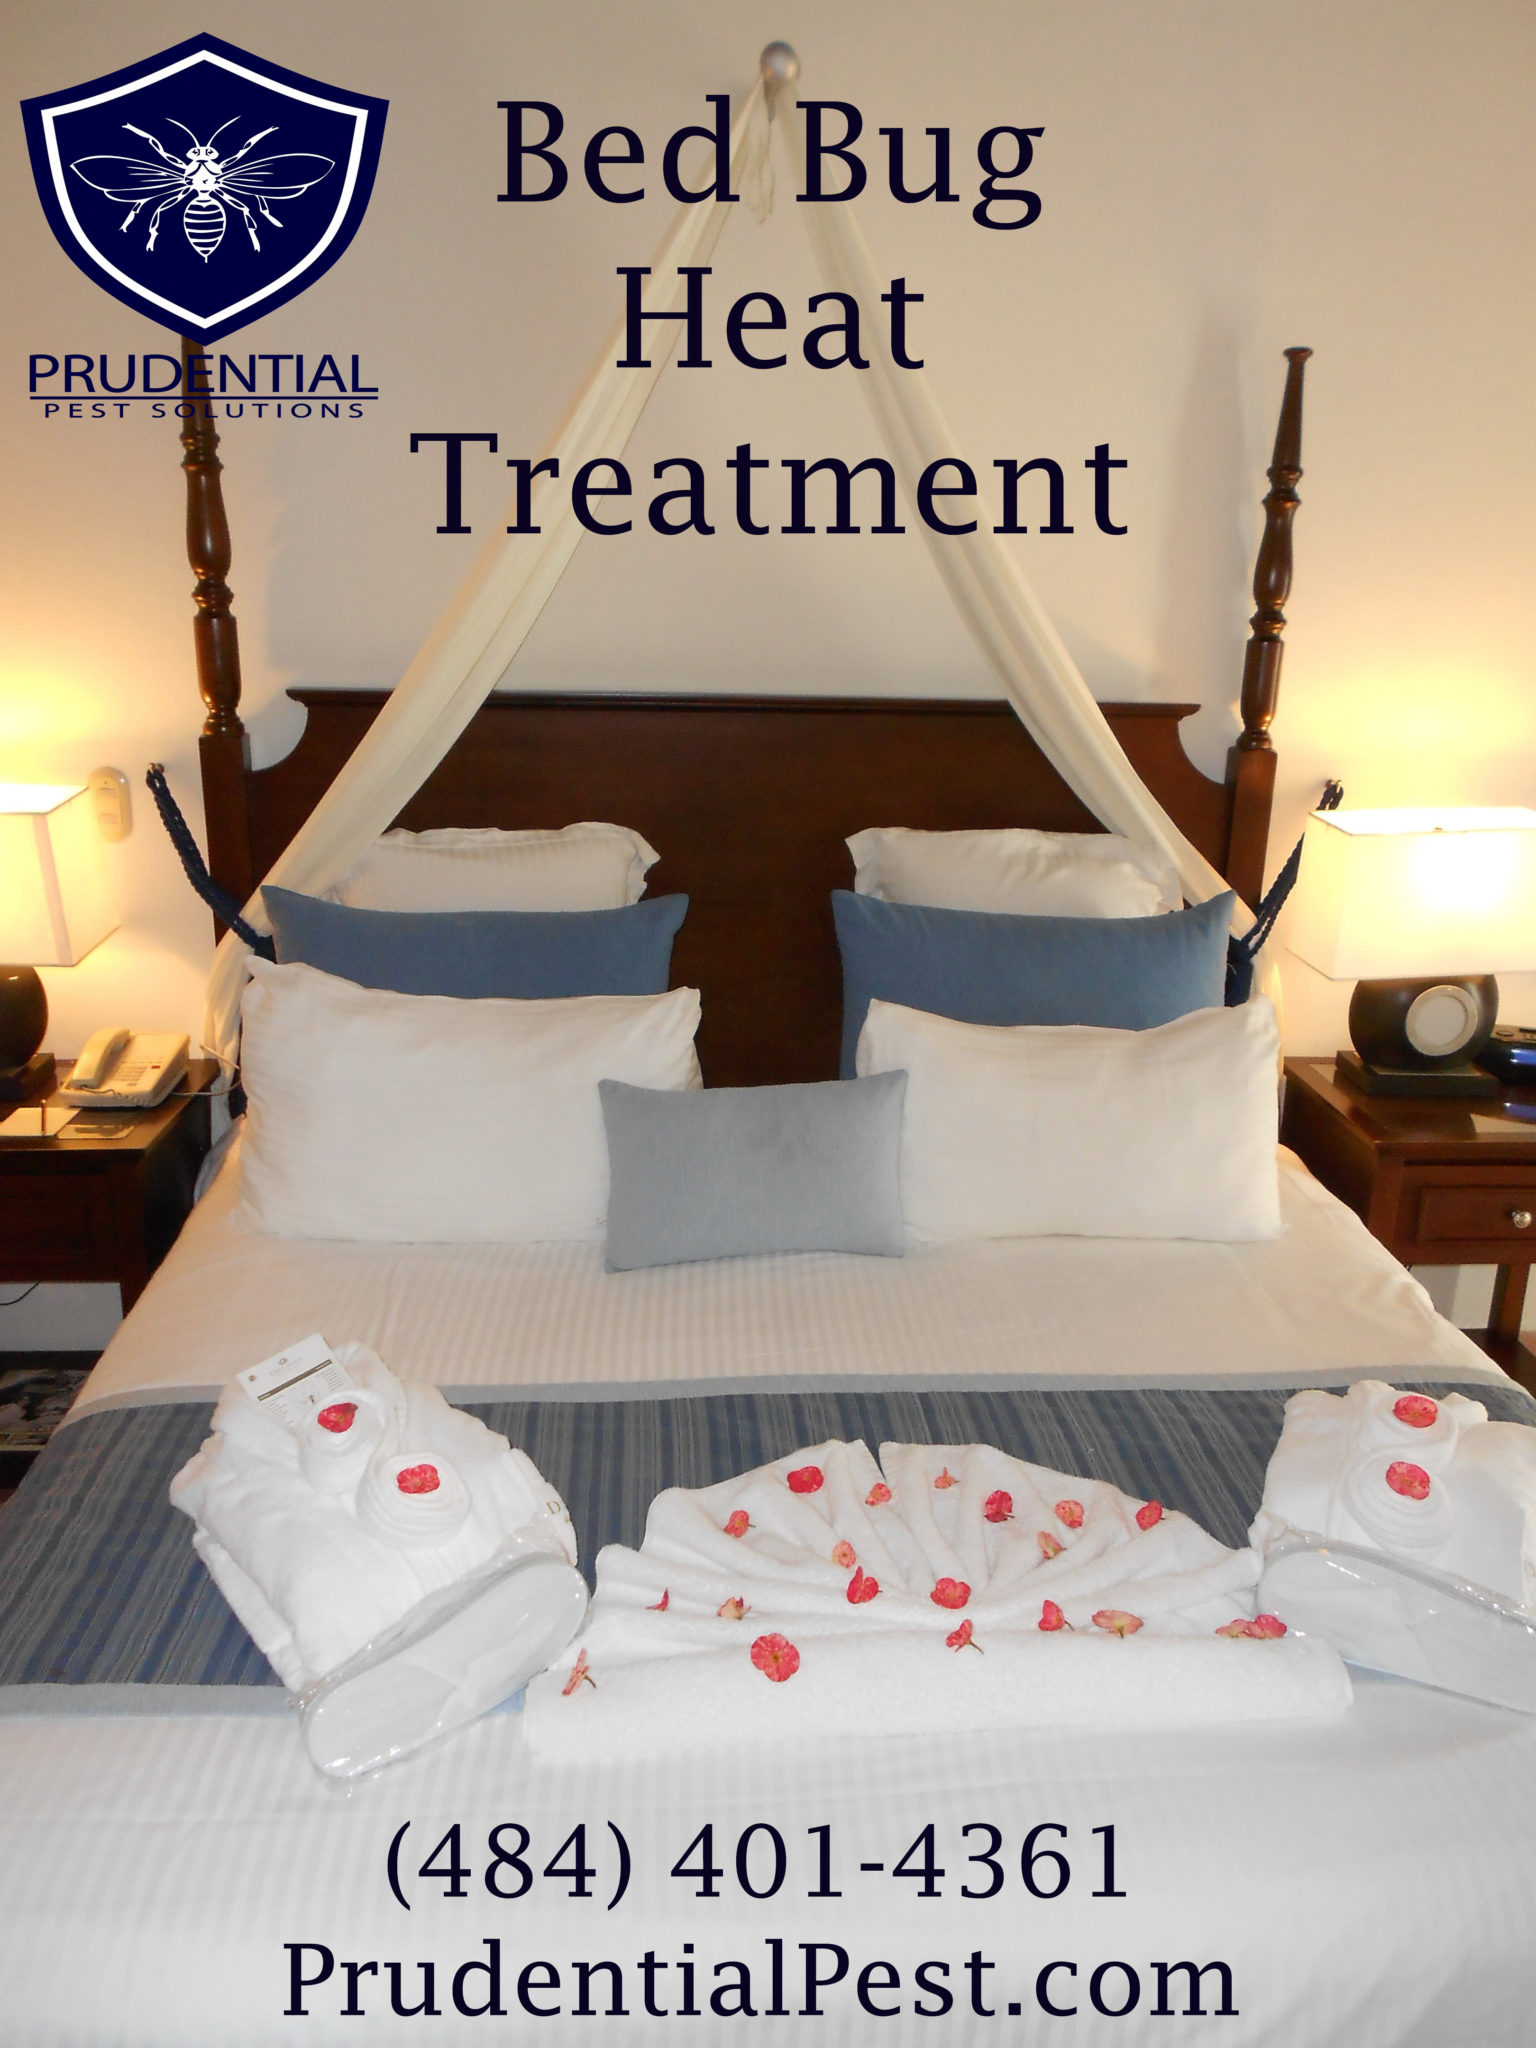
We often receive calls regarding bed bug heat treatment options. Our[…]
Wildlife Control Winter Winter is a time when most homeowners are[…]
Spotted Lanternfly Egg Mass Treatment Winter is a great time to[…]
Using the Snow to determine Wildlife Issues Snow is a great[…]
Moving into a house, whether it is brand new or not,[…]
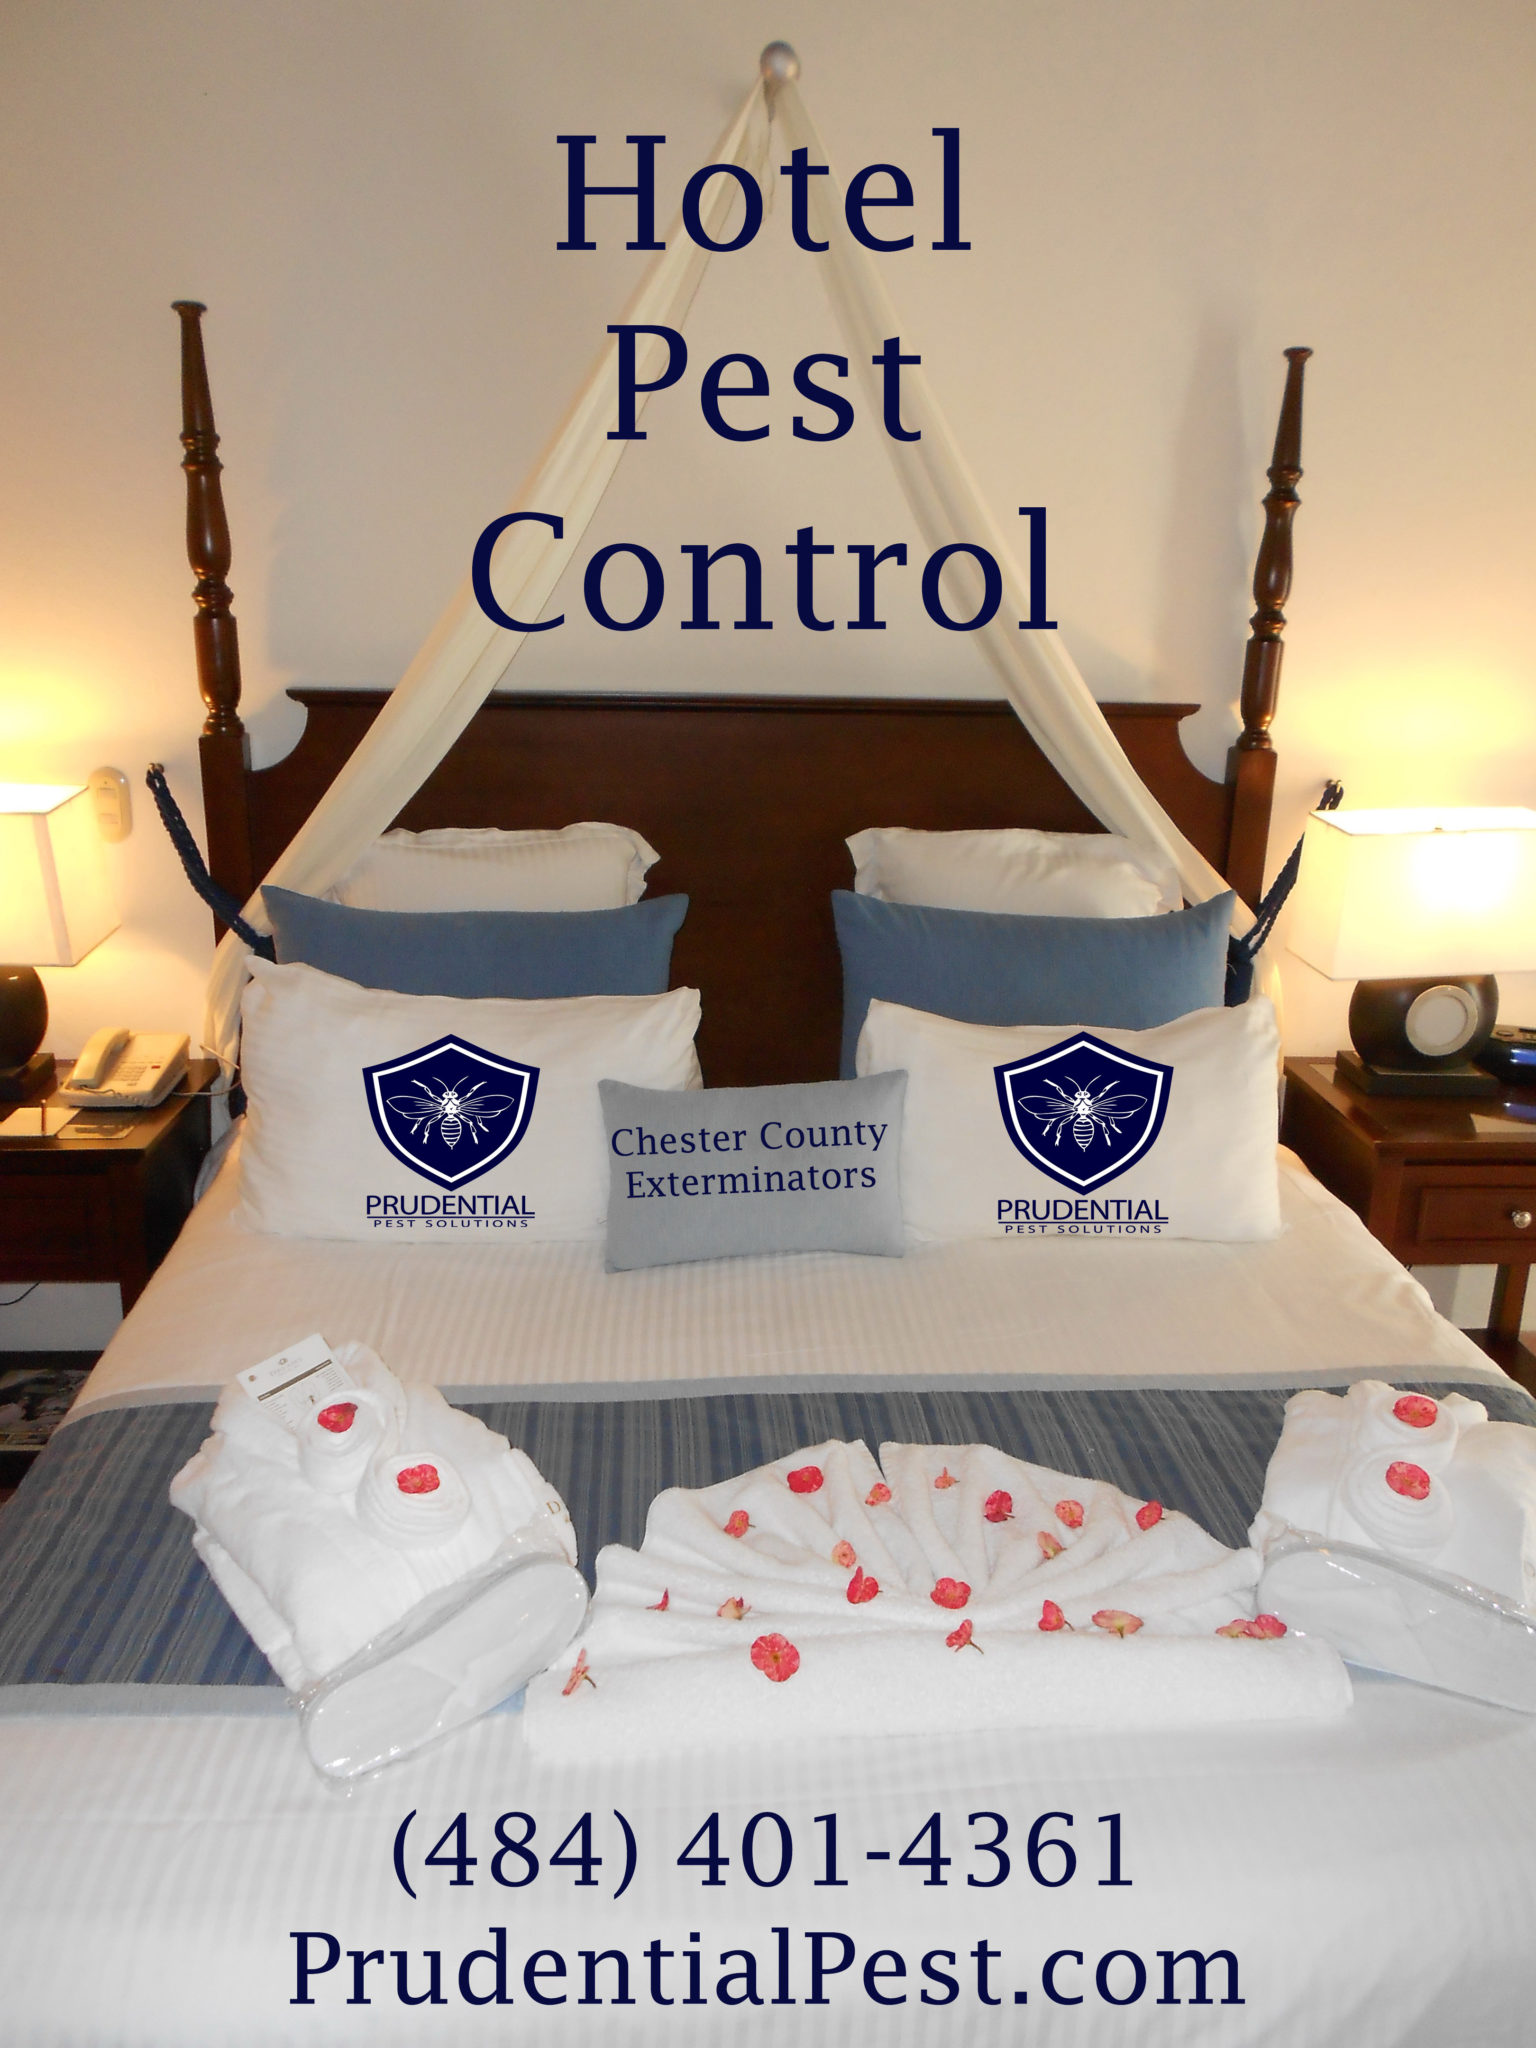
Hotel Pest Control Ask any traveler what their number one pest[…]